
How to Edit Video From Scratch: Best Free Software for Beginners, Plus 10 Tricks That Work
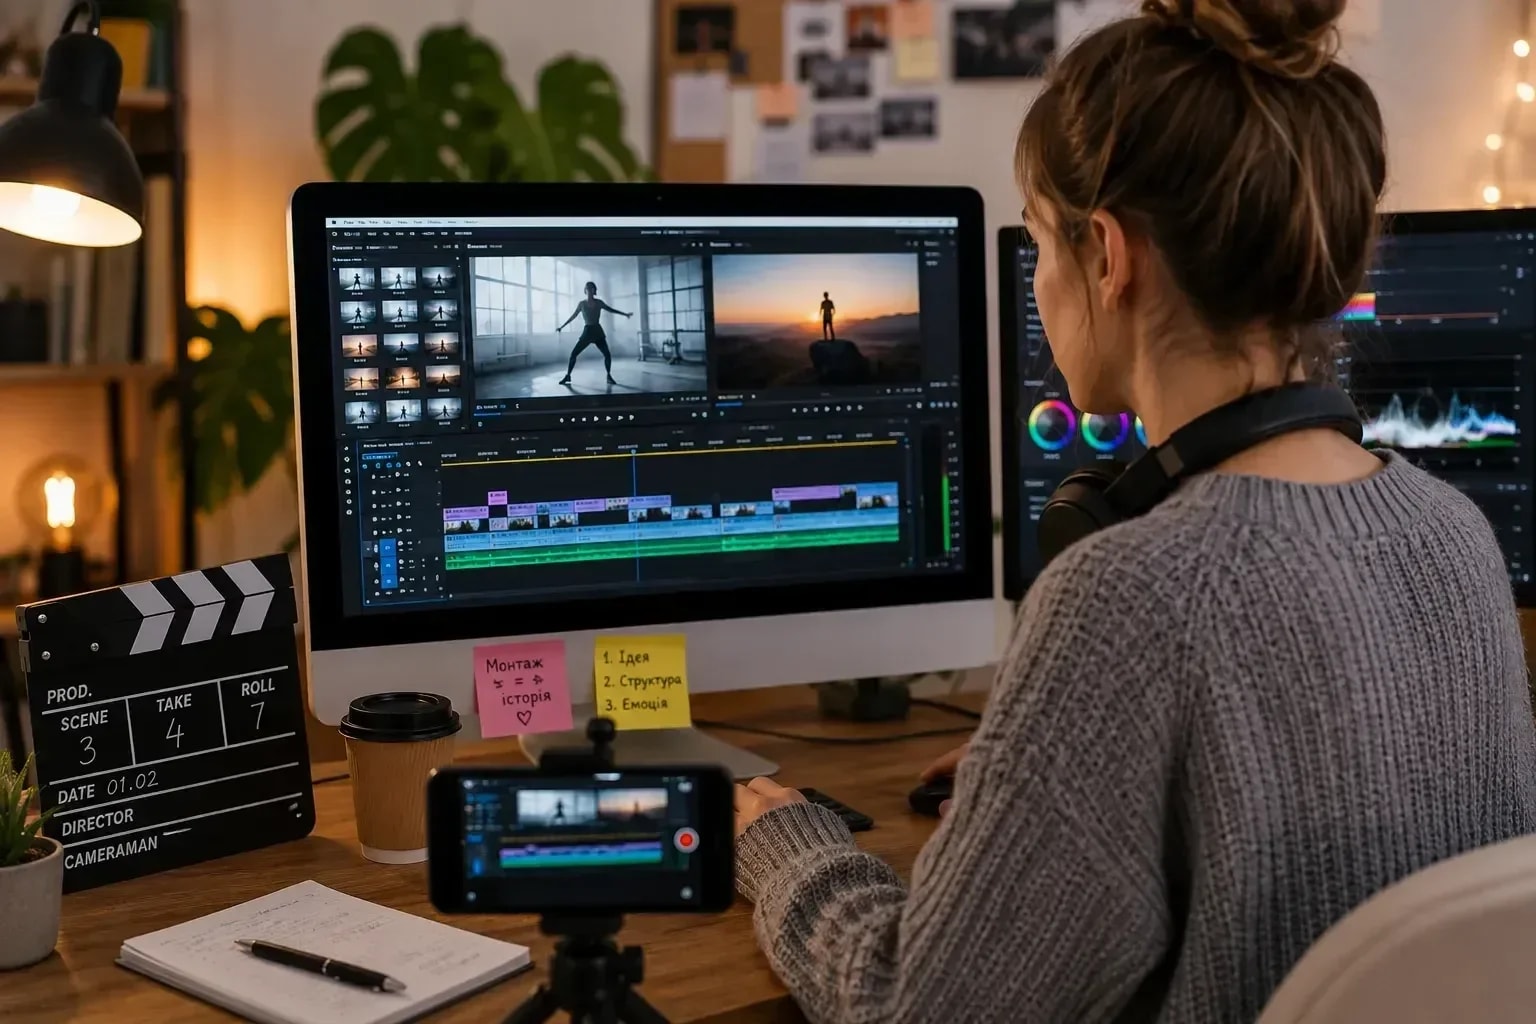
The best free video editing software for beginners is the one that lets you cut confidently, fix sound, add readable text, and export the format you actually need without fighting the interface. In 2026, CapCut remains one of the easiest options for short social video, while DaVinci Resolve 20 offers a much deeper free desktop editor for people who want to grow into professional editing, color, audio, and effects.

Contents14
- How to Edit a Video: the Whole Process in 8 Steps
- What Is a Timeline and Why You Cannot Do Without It
- Best Free Video Editing Software for Beginners in 2026
- CapCut: When It Is Most Convenient
- DaVinci Resolve 20: Not Too Difficult for a Beginner
- Is It Possible to Edit Video on the Phone Normally?
- How to Edit a Video on Your Phone: Step by Step
- How to Edit a Video on a PC
- Where to Start Video Editing for Beginners
- How to Select Frames Before Editing
- How to Properly Cut a Video
- How to Edit Reels
- How to Build Reels So They Are Clear
- Do You Need to Do Very Fast Splices in Reels?
The best free video editing software for beginners is the one that lets you cut confidently, fix sound, add readable text, and export the format you actually need without fighting the interface. In 2026, CapCut remains one of the easiest options for short social video, while DaVinci Resolve 20 offers a much deeper free desktop editor for people who want to grow into professional editing, color, audio, and effects.
Learning how to edit video from scratch is less about collecting effects and more about building a clean workflow: organize footage, make a rough cut, tighten timing, fix audio, add text only where it helps, then export and watch the finished file once before posting.
How to Edit a Video: the Whole Process in 8 Steps
Import and organize footage. Put video, music, graphics, and voiceover into clearly named folders or bins.
Choose the best takes. Remove obvious mistakes before you start polishing.
Build a rough cut. Put the story in the correct order without worrying about transitions or color.
Tighten the edit. Cut pauses, repetitions, weak openings, and unnecessary endings.
Fix dialogue and sound. Make speech clear before adding music.
Add B-roll, text, and graphics. Use them to explain or hide cuts, not simply to decorate.
Correct color and levels. Match shots so they feel like the same video.
Export, watch, and revise. Check the actual exported file for mistakes before publishing.
This order matters because polishing a clip that will later be deleted wastes time.
What Is a Timeline and Why You Cannot Do Without It
The timeline is the area where video, audio, text, and graphics are arranged over time. Clips farther left play earlier; clips farther right play later. Most editors use separate tracks for picture, dialogue, music, sound effects, and titles.
A beginner does not need ten tracks. One main video track, one B-roll track, dialogue audio, music, and text are enough for many projects. Learn three actions first: trim a clip, move a clip, and split a clip. Those skills already cover most basic editing.
Best Free Video Editing Software for Beginners in 2026
For a beginner, the practical shortlist is simple:
CapCut for fast vertical video, captions, templates, auto reframing, and easy social exports. A free version is available, though some effects and AI features require paid access.
DaVinci Resolve 20 for serious desktop editing on Windows, macOS, and Linux. Blackmagic Design still offers a powerful free edition alongside the paid Studio version.
iMovie for simple editing on supported Apple devices if you want a very low learning curve.
A phone's built-in editor for basic trimming, cropping, and quick clips when you do not need layered audio or complex timing.
Do not switch software every week. Pick one and learn its keyboard shortcuts, media organization, trimming tools, audio controls, and export panel.
CapCut: When It Is Most Convenient
CapCut is especially convenient for Reels, Shorts, TikTok-style vertical videos, talking-head clips, subtitles, simple motion graphics, and fast mobile-to-desktop workflows. Its current desktop product emphasizes auto captions, smart search, auto reframe, keyframes, effects, and AI-assisted tools.
Its strength is speed. A beginner can import phone footage, cut it, generate captions, add B-roll, format text, and export without learning a traditional post-production interface first. The trade-off is that some popular templates, effects, stock assets, and AI features may be paid or change availability over time.
DaVinci Resolve 20: Not Too Difficult for a Beginner
DaVinci Resolve 20 looks more complex because it combines editing, color correction, visual effects, motion graphics, and audio post-production in one program. But a beginner does not need to use every page.
Start on the Edit page. Learn media import, the viewer, timeline, blade/split tool, trim handles, inspector, audio levels, and export. Ignore advanced Fusion effects until basic editing feels automatic. The free version is already capable enough for long-form YouTube, interviews, short films, and many commercial-looking projects.
Is It Possible to Edit Video on the Phone Normally?
Yes. Phones are fully capable of editing short social videos and even fairly complex projects if the footage is manageable. The main limitations are screen size, storage, battery, thermal throttling, and less precise control than a mouse-and-keyboard setup.
For Reels, Shorts, travel clips, school projects, or quick talking-head edits, phone editing is often the fastest choice. For long interviews, multicamera projects, heavy color work, or large 4K timelines, desktop editing is usually more comfortable.
How to Edit a Video on Your Phone: Step by Step
Create a new project and import only the clips you might actually use.
Put the main story or talking-head clip on the timeline first.
Trim the beginning and end of each clip.
Split and delete long pauses, mistakes, and repeated phrases.
Add B-roll above the main video where it helps explain the story.
Clean dialogue and lower background music so speech stays clear.
Add captions and check every word manually.
Reframe for the platform: usually 9:16 for Reels/Shorts and 16:9 for standard YouTube.
Export at the target resolution and watch the result on the phone before posting.
Leave some free storage before exporting. Video apps can fail or slow down when the device is nearly full.
How to Edit a Video on a PC
Copy footage to a project folder rather than editing directly from random downloads or removable storage.
Create subfolders for footage, audio, graphics, exports, and project files.
Import media into the editor and organize it into bins if the project is large.
Build the rough cut on a timeline.
Tighten the edit with keyboard shortcuts and ripple trims.
Add B-roll, titles, and sound.
Correct color and match shots.
Export a test, watch it, fix issues, then create the final file.
A clean folder structure matters more as projects grow. Missing files are one of the easiest ways to break an edit later.
Where to Start Video Editing for Beginners
Start with a 30–60 second project instead of a 20-minute video. Use footage you understand: one person talking, a simple recipe, a desk setup, a walk, or a short product demonstration.
Your first goal is not cinematic style. It is to make the viewer understand what is happening without getting bored or confused. If the story works with plain cuts, you already have the foundation for more advanced editing.
How to Select Frames Before Editing
Watch all footage once before cutting if the project is short enough.
Mark the strongest takes and moments.
Reject clips that are badly out of focus, unusably shaky, or have broken audio unless they are essential.
Choose one main take for each idea or sentence.
Save alternate reactions, details, and cutaways as B-roll.
Do not keep a weak clip only because it was difficult to film.
Selection is editing. A good cut begins with choosing better material, not rescuing every shot.
How to Properly Cut a Video
Cut when the information changes, the action changes, or the viewer has already understood the point.
Remove repeated words and dead time that add no mood or meaning.
Preserve natural breaths when removing them would make speech sound robotic.
Use J-cuts and L-cuts so audio can lead or continue across picture changes.
Cut on motion when possible because movement helps hide the edit.
Watch the sequence at normal speed after every heavy round of trimming.
A fast edit is not automatically a good edit. The right pace depends on the content.
How to Edit Reels
Decide the point of the Reel before importing footage.
Put the strongest visual or most useful sentence near the beginning.
Remove greetings and setup that the viewer does not need.
Keep important text inside safe areas so interface buttons do not cover it.
Use B-roll to show what the voice is describing.
Add captions for speech-heavy clips.
End when the idea is complete rather than stretching to a target duration.
Export vertical 9:16 unless the platform or project requires another format.
The first seconds matter, but that does not mean every Reel needs a fake dramatic hook.
How to Build Reels So They Are Clear
Give the video one main question or promise.
Put information in a logical order: problem, explanation, result; or setup, steps, payoff.
Use visual changes when the topic changes.
Keep on-screen text short enough to read while the video continues.
Repeat only the information that genuinely needs emphasis.
Finish with a clear conclusion instead of an abrupt unrelated call to action.
Clarity usually beats speed. A viewer who understands the first sentence is more likely to stay than a viewer hit with five effects in two seconds.
Do You Need to Do Very Fast Splices in Reels?
No. Fast cutting is a style, not a requirement. Constant one-second cuts can make educational or emotional content harder to follow. If the speaker is engaging and the composition is good, some shots can stay on screen for several seconds.
Use pace to match the idea. A quick before-and-after transformation can be fast; a personal explanation or tutorial may need breathing room. Cut boredom, not every pause.
What Video Formats to Use for Different Platforms
For most social platforms, H.264 in an MP4 container remains a practical delivery format. Use 9:16 for most vertical short-form content, 16:9 for standard YouTube and many presentations, and 1:1 only when a square layout is intentionally required.
Resolution should match the platform and source. 1080 × 1920 is a common vertical target; 1920 × 1080 is standard Full HD landscape. Exporting 4K does not create real detail if the source was low-resolution.
How to Work With Sound During Video Editing
Make dialogue understandable before adding music.
Remove obvious hum, clicks, or large level jumps when tools allow.
Cut or fade audio so edits do not create sudden pops.
Keep background music clearly below speech.
Use room tone or ambient sound to prevent awkward silence between edits.
Check the mix on both headphones and ordinary speakers or a phone.
Avoid aggressive noise reduction that makes voices metallic.
Viewers often forgive imperfect picture sooner than exhausting or unintelligible audio.
At What Volume to Play Music
There is no universal number because source levels, platform normalization, and dialogue loudness vary. The practical rule is that music should support the scene without making the listener work to understand speech.
Use your meters, but also listen. If you keep turning the volume up to understand the speaker, the music is too loud. Lower it further during dense speech and allow it to rise in pauses or montages.
Is It Possible to Take Any Music for Reels and YouTube?
No. Music is copyrighted unless it is licensed or genuinely in the public domain. Platform music libraries may grant use under specific conditions inside that platform, but those rights do not automatically transfer to advertising, client work, another platform, or downloaded reposts.
For YouTube and commercial projects, use music you created, properly licensed tracks, or music from a library whose terms cover your exact use. Save license records for client work.
Do You Need Subtitles for Video Editing?
For speech-heavy social video, captions are often useful because viewers may watch without sound and because captions improve accessibility. They also help with names, terminology, and noisy environments.
Automatic captions are a starting point, not a final answer. Review spelling, punctuation, names, numbers, and line breaks. Bad captions can make good audio feel careless.
How to Format Text in Video
Use a readable typeface rather than a decorative one for body captions.
Keep contrast strong against the footage.
Use a background box, shadow, or outline only when necessary for readability.
Keep lines short and avoid covering faces or important objects.
Limit the number of type styles in one video.
Use consistent size and position for repeated information.
Check the video on a small phone screen before export.
Text should help the viewer follow the video, not become a second competing video on top of it.
Do You Need Transitions Between Each Frame?
No. A simple cut is the default transition in professional editing. Dissolves, wipes, zooms, spins, and other transitions should communicate time, mood, format, or a deliberate stylistic change.
If every edit has a transition, viewers begin noticing the software rather than the story. Use motion-based transitions sparingly and only when the neighboring shots support them.
How to Make the Colors the Same in Different Frames
Correct exposure and white balance before adding a creative look.
Choose one reference shot that already looks right.
Match neighboring shots to that reference.
Compare skin tones and neutral objects, not only the overall image.
Use scopes if your editor provides them, especially for difficult matches.
Apply a creative grade only after basic matching.
Review the entire sequence because a shot can look fine alone but wrong beside another shot.
Do not paste the same color preset onto every clip and assume the shots will match.
10 Techniques That Improve Video Editing
Start with action or information. Remove an opening that delays the reason to watch.
Cut duplicated thoughts. If two sentences say the same thing, keep the stronger one.
Cut on movement. Motion helps hide changes between angles or takes.
Use B-roll with purpose. Show the object, place, process, or result being discussed.
Change framing instead of adding effects. A subtle crop or alternate angle often works better than a flashy transition.
Let important shots breathe. Not every clip needs to be short.
Let the next audio arrive early. A J-cut can make conversations and scene changes feel smoother.
Do not cut every beat automatically. Music should support structure rather than dictate every edit.
Fix sound before effects. Clear audio improves perceived quality more than another visual plugin.
Watch the full export once. Catch typos, black frames, clipping, bad fades, and missing media before upload.
These ten techniques are simple enough for a first project and remain useful in professional editing.
What Mistakes Do Beginners Most Often Make?
Common beginner mistakes include keeping every clip, using too many transitions, making music too loud, adding giant subtitles, overusing zooms, ignoring continuity, applying extreme color presets, and exporting without watching the final file.
Another mistake is editing before deciding what the video is about. If you cannot summarize the video's point in one sentence, the timeline will usually feel unfocused too.
How to Edit Video Faster
Learn the shortcuts for play/pause, split, ripple delete, trim, undo, and zoom timeline.
Organize footage before the timeline becomes crowded.
Make a rough cut before styling anything.
Build reusable text and subtitle presets.
Use proxies or optimized media if high-resolution footage is slow.
Save versions before major structural changes.
Stop polishing sections that may still be deleted.
Speed comes from reducing repeated decisions, not from clicking faster.
How to Export a Finished Video
Set the correct aspect ratio and resolution for the destination.
Use a common codec such as H.264 when the platform accepts it.
Choose a sensible bitrate rather than the absolute maximum.
Confirm frame rate matches the project unless you have a specific reason to convert it.
Check audio is included and not muted.
Name the export clearly with version number or date.
Export to a location with enough free space.
Watch the completed file from beginning to end.
Keep the project file and important source media until you are sure no revisions are needed.
4K or 1080p: In What Quality to Edit the Video
1080p is still enough for many social videos, presentations, and ordinary YouTube content. 4K gives more room to crop, stabilize, reframe, and deliver high-resolution output, but it uses more storage and processing power.
If you filmed 4K and your computer handles it, editing on a 4K timeline can make sense. If performance is poor, use proxies or edit 1080p. A smooth workflow is more useful than forcing maximum resolution.
How to Edit Videos for YouTube
Build the structure before worrying about animation.
Cut long pauses and repeated explanations.
Use chapters or clear sections for longer educational videos.
Add B-roll where the viewer needs visual proof or relief from a talking head.
Mix dialogue carefully and keep music secondary.
Use graphics consistently rather than changing style every minute.
Export at a high-quality platform-friendly setting and check the final file.
For long videos, retention depends on clarity and progression more than constant visual stimulation.
Do You Need a Powerful Computer for Video Editing?
Not for basic 1080p editing. Short projects can run on ordinary modern laptops, especially in lighter editors. 4K, high-frame-rate footage, heavy noise reduction, advanced effects, multicamera edits, and complex codecs demand more CPU/GPU power and memory.
If playback stutters, use proxies, optimized media, lower preview resolution, or simpler effects before buying new hardware. Storage speed and available disk space also matter.
Is It Possible to Learn How to Edit a Video Yourself?
Yes. Editing is highly learnable through practice because the core operations are repetitive: select, trim, arrange, listen, compare, revise. Tutorials help with software buttons, but improvement comes from finishing projects and noticing where viewers become confused or bored.
Copy techniques, not entire styles. Ask why an editor cut at a certain moment, changed angle, removed music, or stayed on a shot longer.
How Long Does It Take to Learn Video Editing?
You can learn basic cutting and exporting in a day. Becoming comfortable with a full editor may take several weeks of regular use. Good pacing, sound judgment, storytelling, color, and efficient workflow take longer because they depend on repeated projects rather than memorizing menus.
A useful goal is to finish ten small videos. The tenth project will usually teach more than ten hours of passive tutorial watching.
A useful way to improve quickly is to separate technical editing from editorial judgment. Technical editing is knowing how to split a clip, move it, keyframe scale, change audio level, or export H.264. Editorial judgment is deciding whether the clip belongs there at all. Beginners often spend most of their energy learning buttons, but audiences only experience the decisions. Once the basic controls are familiar, spend more time asking what the viewer needs at each moment.
For interview or talking-head work, build a "radio edit" first: close your eyes and listen to the sequence. If the argument, story, or explanation works as audio, then add B-roll and visual changes. This prevents the common mistake of using attractive footage to hide a confusing structure. It also makes it easier to hear repeated points, awkward transitions, and sentences that can be shortened.
For tutorials, show the result before or shortly after explaining the process. Viewers understand steps better when they know what they are working toward. Screen recordings should be cropped so the relevant controls are large enough to see, and pointer movement should be deliberate. If an interface changes after a software update, focus the narration on the function rather than memorizing one exact button position.
For narrative or lifestyle videos, continuity deserves attention. If a hand reaches for a cup in one shot, the next angle should generally continue the same action rather than jumping backward. If a person looks screen-right, a cut to another subject may need matching screen direction. These small relationships make an edit feel smooth even when the viewer cannot explain why.
File management is another professional habit worth learning early. Keep the project file separate from exports, never overwrite the only copy of original footage, and use version names such as `project_v03` rather than `final_final_reallyfinal`. For important work, keep at least one backup on another drive or storage location. A perfect edit is worthless if the media disappears.
When using AI-assisted tools such as automatic captions, transcription, reframing, or silence removal, review the result manually. Automation can save time, but it can mishear names, cut intentional pauses, track the wrong face, or reframe away from an important object. Treat AI as an assistant that produces a first pass, not as an editor that understands the purpose of the scene.
Performance problems can also be solved systematically. If the timeline stutters, first reduce playback resolution, disable heavy effects temporarily, close unnecessary applications, and generate proxies or optimized media. If only one codec is difficult, transcoding may help more than buying a new computer. Monitor disk space because cache files and render files can quietly consume hundreds of gigabytes on long projects.
Finally, judge edits on the device where the audience is likely to watch. A subtitle that looks elegant on a 27-inch monitor may be unreadable on a phone. Music that feels balanced on studio headphones may disappear on a phone speaker. A dark color grade may crush detail on a cheap display. Export short tests and check them in the real viewing environment before finishing a large batch of content.
A beginner-friendly editing setup should remove friction rather than maximize features. Create one project folder with subfolders for video, audio, graphics, exports, and project files. Copy everything into that structure before you start editing, then import from there. Renaming clips is optional for a tiny project, but sorting by scene, date, camera, or take becomes valuable as soon as you have more than a few dozen files. Consistent organization also makes backups and relinking much easier if a drive letter or folder location changes.
When you begin the first cut, prioritize story order and timing before effects. Put the usable shots on the timeline, remove obvious mistakes and dead space, and make sure the sequence communicates what it is supposed to communicate. Only then spend time on transitions, color, titles, sound design, or motion graphics. This prevents the common beginner problem of polishing a section that later gets deleted. For dialogue or tutorials, clean speech and understandable pacing matter more than elaborate visuals.
Exporting is another stage where simple rules help. Match the frame rate of the source or project unless you have a specific reason to convert it, use a common delivery codec such as H.264 or H.265 when the platform supports it, and check the platform's current upload recommendations before publishing. Watch the entire exported file once, not only the timeline preview. Look for missing media, audio pops, spelling errors in titles, unexpected black frames, clipped captions, and sync problems. A technically correct render can still contain editorial mistakes.
Finally, keep at least one copy of the project and original media until you are certain no revisions are required. Free editors can be fully capable, but updates, cache cleanup, or accidental file moves can still break a project. A basic backup on another drive or cloud storage is often more valuable than another plug-in. The best editing workflow for a beginner is the one that is repeatable: organize, assemble, refine, check audio and color, export, review, and archive.
For social video, also preview the finished edit on a phone before publishing. Small captions, edge-cropped text, or quiet dialogue can look acceptable on a desktop monitor but fail on a vertical mobile screen. Keep important text inside safe margins and check subtitles at normal playback speed.
Before final delivery, save a clean master file at a sensible quality level and, if needed, create smaller platform-specific copies from that master. Re-exporting repeatedly from already compressed files can reduce quality and makes version control harder.
FAQ
1. Start with action, not a long introduction?
Usually yes. Begin where the viewer first receives useful information, emotion, or movement. Keep an introduction only when it adds context the video truly needs.
2. Cut out duplication of thought?
Yes. Repeating the same idea with weaker wording slows the video. Keep the clearest version unless repetition is intentional for emphasis.
3. Cut on the go?
Cutting on movement can hide an edit and make two shots connect naturally. Match the direction and stage of motion when possible.
4. Use B-roll?
Use B-roll when it explains, proves, demonstrates, or adds context. Random stock footage usually weakens a specific story.
5. Change the size, not just add effects?
Yes. Reframing a 4K shot, using a second camera angle, or moving from wide to close often feels cleaner than adding a decorative transition.
6. Let the frame end?
Yes. Important reactions, reveals, and emotional moments sometimes need extra time. Do not cut simply because a timer says three seconds have passed.
7. Put the sound of the next frame earlier?
That is a J-cut. It lets the audio of the next shot begin before the picture changes and often makes dialogue or scene transitions smoother.
8. Do not make every cut hit every beat of the music?
Correct. Beat cutting can work for montages, but constant beat matching can make every sequence feel mechanical.
9. First make good sound, then effects?
Yes. Clear dialogue and balanced levels improve a video more reliably than visual effects.
10. Before exporting, watch the video in one take?
Watch the timeline once, then watch the exported file once. Export errors and missing assets can appear even when the timeline looked correct.
How to edit a video from scratch?
Organize footage, build a rough cut, tighten timing, fix sound, add B-roll and text, match color, export, and review the final file.
In which program is it easiest to edit video?
CapCut is among the easiest current options for short social video. DaVinci Resolve 20 has a steeper interface but is the stronger free choice if you want a full desktop editor you can grow into.
Best of the week — in your inbox
No spam. Only top Gosta stories. Unsubscribe in one click.
Comments